JWT Token Claims in ASP.NET Core
After the authentication was presented in the previous two articles using Symmetric and Asymmetric keys, then this article is about authentication, much more exactly about Claims and Roles. In the first part, there will be an introduction about the core concepts of the JWT Claims and in the second part the actual implementation.
JWT Authentication with Symmetric Key: https://stefanescueduard.github.io/2020/04/11/jwt-authentication-with-symmetric-encryption-in-asp-dotnet-core/.
JWT Authentication with Asymmetric Key: https://stefanescueduard.github.io/2020/04/25/jwt-authentication-with-asymmetric-encryption-in-asp-dotnet-core/.
Introduction
Claims in JWT Token are used to store key data (e.g. username, timezone, or roles) in the Token payload, besides the IssuedAt (i.e. iat), which is added by default.
In .NET Core, Claims can be used without installing any additional package, it comes from the System.Security.Claims package. From this package, in this article, just the Claim and ClaimTypes will be used. You can find more about them here: https://docs.microsoft.com/en-us/dotnet/api/system.security.claims?view=netcore-3.1.
For this article I chose to use JwtAuthentication.AsymmetricEncryption project from the previous article and to add some functionality to support Claims and Roles. So if you are reading the previous two articles, you’ll see small changes in this one.
Additional changes
As I said there will be some minor changes, to support the Claims and Roles feature. These changes are not required in your type of scenario, but is required for a better understanding of this article. So if your target is to find the actual implementation, you can skip the AuthenticationService class.
AuthenticationService
The AuthenticationService now will have an additional UserRepository from which the data about the User will be retrieved. And the TokenService will receive the User to generate the securityToken.
Authenticate method was explained in the previous two articles and all the code can be found at my GitHub account, there will be a link to it at the end of this article.UserRepository contains a predefined list of users, and the GetUser method returns only the User with the given username, this logic was on the UserService.
User
User now contains the Roles property and the Claims method which will build the claims with the Username and Roles. For the sake of this article, we’re supposing that the Roles will be all the time set, so we’ll don’t need to worry if this collection will be null.
You may notice that there are some predefined ClaimTypes, created by a standard (i.e. http://docs.oasis-open.org/imi/ns/identity-200810), but there are just plain text. So the ClaimTypes, can be also customized as you wish.
The Claims will be used on the TokenService to set the Subject, which in fact is the Token Payload.
TokenService
TokenService is receiving the User from the AuthenticationService and uses it to set the Subject (i.e. Payload) of the Token.
Besides this change, there is only one change that has to be done, on the GetTokenDescriptor method, when the SecurityTokenDescriptor is created, the subject is initialized with new ClaimsIdentity that gets the user claims.
UserController
Now that the Claims are set, the UserController will be the playground for the set claims and roles. In order to accept requests with the created Token, the Controller must have the same Scheme as the Token set on the AuthorizeAttribute.
GetClaims method
Firstly the user claims will be getting by using the User from the base class of the controller (i.e. ControllerBase), which has the Claims getter. Because the Claim class has many properties, that can be found on the Microsoft website: https://docs.microsoft.com/en-us/dotnet/api/system.security.claims.claim?view=netcore-3.1, for this example just the Type and the Value associated with will be used.
In the picture below, the claims of the john.doe user are get. We can see that besides the name and role claims, there are three more which are not added explicitly; but were added by default when the Token was created.
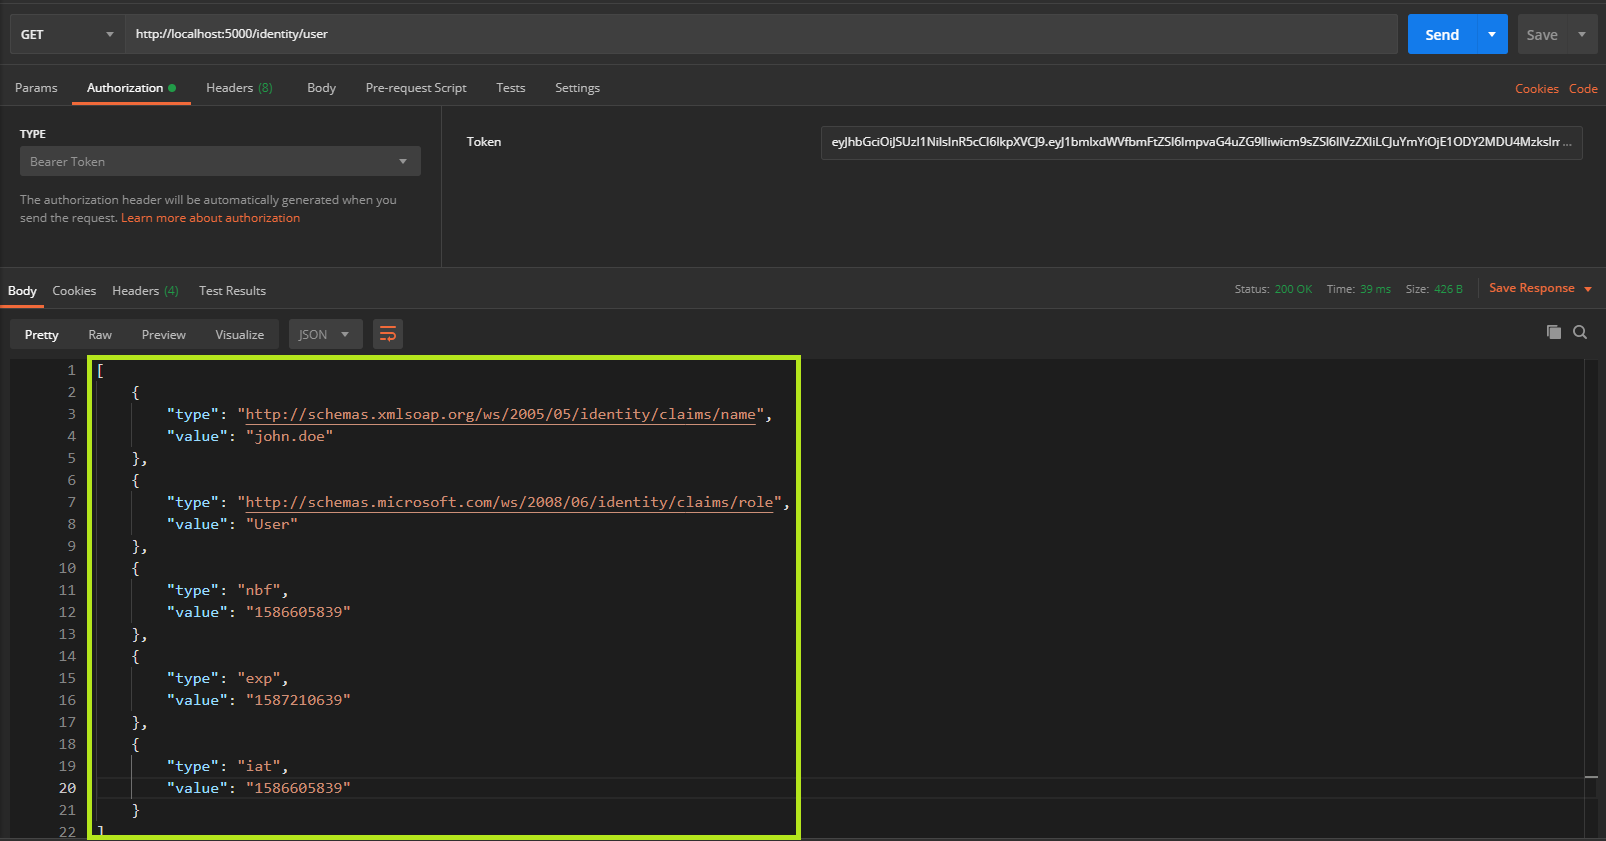
nbfor Not Before, is used to verify that token will be valid only after it was created and not in the past;expor Expiration Time, it’s self-explanatory and was set because theLifeTimeValidatorwas specified when the Token was created;iator Issued At as previously mentioned, is the time when the Token was created;
The time represents the seconds in the Unix epoch time.
All the claims can be found on this scientific paper, that I used it as a reference for these articles: https://tools.ietf.org/html/rfc7519#section-4.1.
GetName
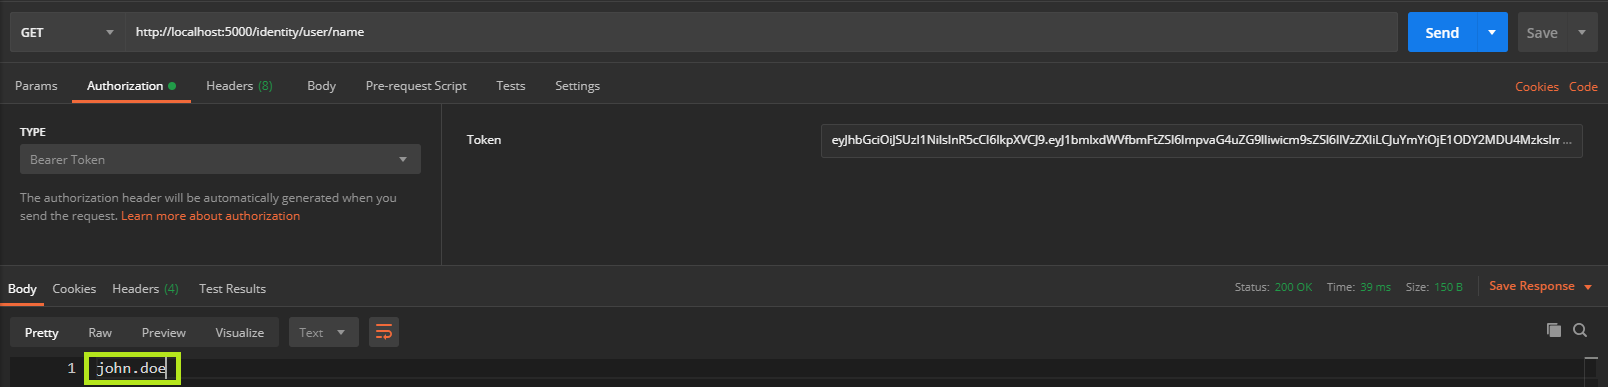
In the GetName method, the value of Name claim is get for the given Token, which represents the username. The User already has predefined methods, like FindFirstValue in order to expose its property easily.
In the response, only the username is returned from the Claim.
GetRoles
And the last method, is using the AuthorizedAttribute with the Roles property to give access only for the users that have the set role, in this case, Admin.
Let’s test with the john.doe user, that only have the User role.
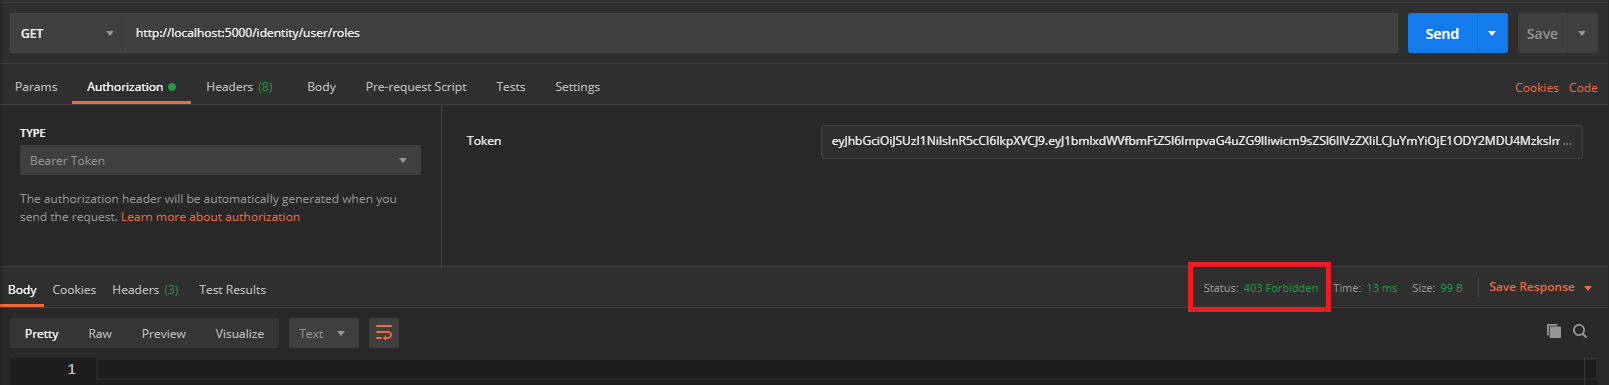
The response code is 403 Forbidden because the request didn’t pass AuthorizeAttribute`.
Now, the jane.doe user will be logged in, and we’ll try to get her roles with the generated token.
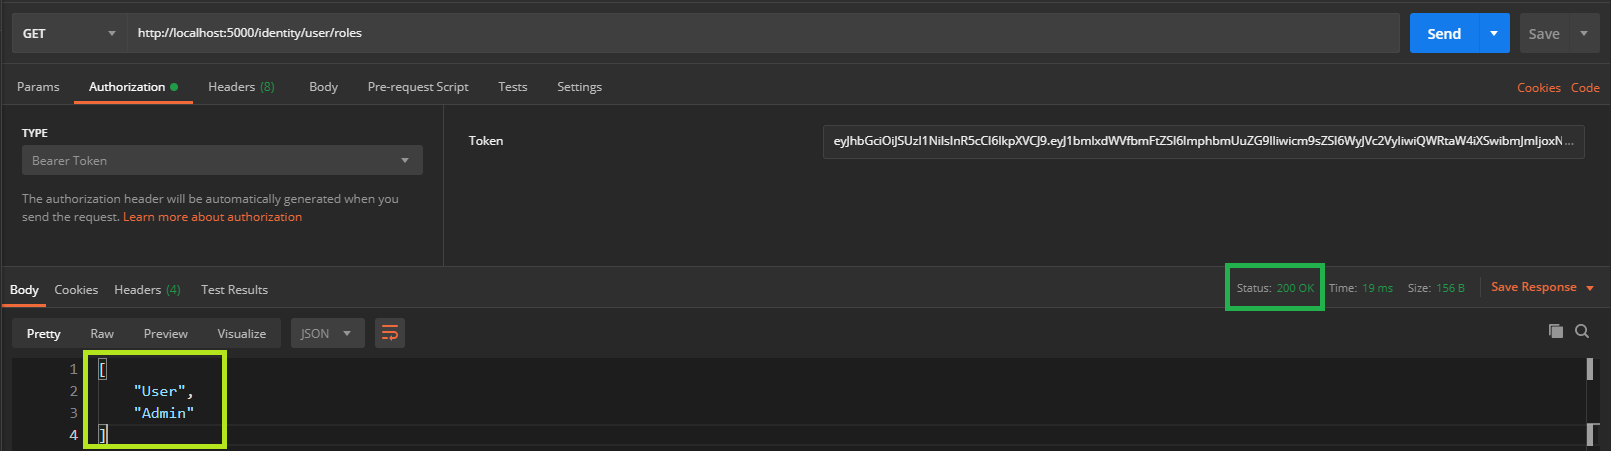
In the above picture, the response code is OK and its body contains the user roles, as expected because the role is the requested one.
The source code from this article can be found on my GitHub account: https://github.com/StefanescuEduard/JwtAuthentication.
Thanks for reading this article, if you find it interesting please share it with your colleagues and friends. Or if you find something that can be improved please let me know.